Affiliate disclosure: This guide may contain affiliate links. We may earn a commission from qualifying purchases at no additional cost to you. Prices and availability can change.
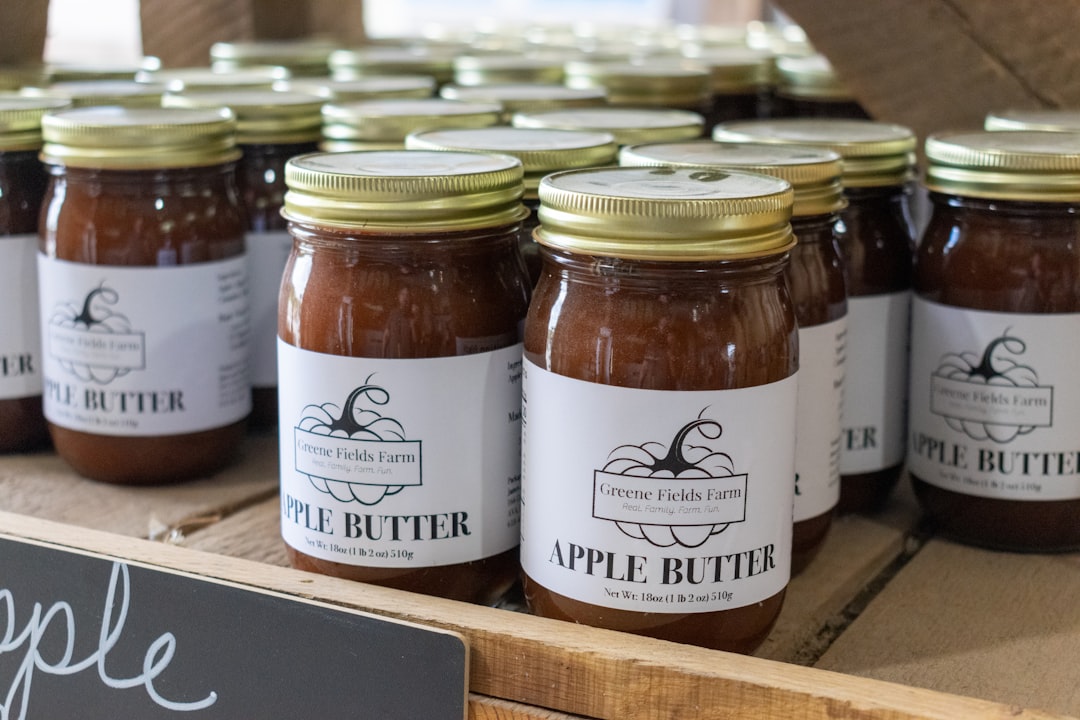
Home-canning jars and lids are part of the tested preservation system—not interchangeable pantry containers. The safest choice is a purpose-made jar, a closure designed for heat processing, and the exact jar size specified by a current tested recipe.
Quick buying recommendations
- Choose standard, purpose-made home-canning jars from a manufacturer with current
canning instructions. - Buy the jar size stated in the recipe: quarter-pint, half-pint, pint, quart, or another specifically tested size.
- Use compatible lids and bands intended for that jar finish.
- Prefer readily available sizes so replacement lids remain easy to obtain.
- Inspect every jar and closure before each batch.
- Keep several new lids in reserve; do not depend on damaged or previously processed flat lids.
What makes a jar suitable for home canning ?
A purpose-made home-canning jar is manufactured to withstand repeated filling, heating, and cooling under the conditions described by the manufacturer. It has a compatible sealing surface and closure system. Even a true
Decorative jars, commercial food jars, and general storage containers may resemble
Regular-mouth versus wide-mouth jars
Regular-mouth jars
Regular-mouth jars have narrower openings and pronounced shoulders. They often work well for liquids, jams, jellies, sauces, and small pieces that pour easily. They may cost less or be more widely stocked in some markets.
Wide-mouth jars
Wide-mouth jars are easier to fill and empty when
Mouth style does not change the required processing time. The tested recipe’s jar volume, food preparation, packing method, headspace, and process remain controlling.
Choosing the correct jar size
Jar size affects heat penetration. Use only sizes listed in the tested instructions. You may usually use a smaller jar and apply the processing time for the next larger tested size, but only when authoritative guidance for the recipe permits that practice. Never move upward to a larger jar by guessing a longer time.
Common sizes and uses
- Quarter-pint and small specialty jars: use only when the recipe or authoritative guidance addresses them.
- Half-pint: jams, jellies, preserves, chutneys, condiments, and concentrated products.
- Pint: many pickles, fruits, vegetables, meats, fish, sauces, and combination foods.
- Quart: products specifically tested for quart processing, often fruits, tomatoes, pickles, and selected pressure-canned foods.
- Half-gallon: limited tested uses; NCHFP guidance restricts these large jars to very specific juices.
How two-piece canning lids work
The common two-piece closure consists of a flat lid with sealing compound and a reusable screw band. During processing, air vents from the jar. As the jar cools, the lid is drawn against the rim and forms a vacuum seal.
Flat lids
Use a new conventional flat lid for each heat-processing cycle. Follow the lid manufacturer’s current preparation directions; many modern lids should be washed but not pre-boiled. Do not use a bent, scratched, rusty, or compromised lid.
Screw bands
Bands hold flat lids in position during processing but do not create shelf stability. Tighten them to the manufacturer’s specified fingertip-tight level. Overtightening may prevent normal venting, while a loose or crooked band can contribute to sealing trouble.
After jars cool and seals are confirmed, remove the bands for storage unless the jar-system manufacturer directs otherwise. Wash and dry reusable bands promptly to reduce corrosion.
Reusable lid systems
Reusable multi-part closures exist in several countries. Use them only with compatible jars and current manufacturer instructions, and confirm that the closure system is appropriate for the tested
Reusable does not mean indefinite. Inspect gaskets, clips, lids, and sealing surfaces every time and replace components at the frequency specified by the manufacturer.
One-piece lids and international jars
Home-preservation jar systems vary worldwide. Some use glass lids and rubber rings; others use one-piece metal lids or clips. A closure widely used for commercial packing or refrigerator storage is not automatically validated for a particular home-canning process.
When using WECK, Kilner, Le Parfait, Quattro Stagioni, or another regional system, follow that manufacturer’s current home-preservation instructions and a tested recipe compatible with the jar size and method. Do not translate a volume, lid type, or process by visual similarity alone.
New versus used jars
Used purpose-made
- Cracks, chips, or flakes
- A rough or damaged sealing surface
- Deep scratches or etched weakness
- Permanent staining that prevents inspection
- An unknown or incompatible closure finish
Use retired jars for dry, non-canning storage only when they remain suitable for that purpose.
Can commercial jars be reused?
NCHFP recommends standard home-canning jars for the best reliability. Some commercial jars may accept two-piece lids, but they can have a higher risk of breakage and sealing difficulty, and they should not be assumed suitable for pressure
Jar preparation
- Check jars, rims, lids, and bands before beginning.
- Wash them in hot, soapy water and rinse well.
- Keep jars hot when the tested hot-pack process requires hot jars.
- Sterilize empty jars only when the tested instructions require it. Many recipes with processing times of at least 10 minutes do not require separate pre-sterilization.
- Prepare lids according to their current manufacturer instructions.
Filling and closing jars correctly
- Fill the jar using the preparation and pack style stated in the recipe.
- Leave the exact required headspace.
- Remove trapped bubbles when instructed using a nonmetallic tool.
- Recheck headspace and adjust if necessary.
- Wipe the rim clean so food or grease cannot interfere with sealing.
- Center the lid and apply the band correctly.
- Load the jar into the canner without unnecessary delay.
Cooling and checking seals
After processing, follow the tested removal and cooling directions. Keep jars upright and undisturbed for the recommended cooling period. Do not retighten bands, turn jars upside down, or press lids while they are cooling.
When completely cool, remove the bands and test each seal. Refrigerate, freeze, reprocess according to current safe instructions, or discard any unsealed jar as appropriate. Never place an unsealed low-acid product on the shelf.
Labeling and storage
Label every jar with the product and processing date. Store sealed jars without bands in a clean, cool, dark, dry place. Avoid temperature extremes, direct sunlight, moisture, and locations near furnaces or hot pipes. Before opening, check for broken seals, leakage, spurting liquid, mold, off odors, or other spoilage signs. Do not taste questionable food.
How many jars should a beginner buy?
Start with one or two cases in the sizes required by recipes you will actually make. Add extra jars for breakage and unexpected yield, plus enough new lids for every jar. A mixed collection is useful only when each size corresponds to recipes in your plan.
Common mistakes to avoid
- Using the wrong jar size
- Reusing conventional flat lids
- Mixing incompatible lids, bands, and jars
- Overtightening bands
- Using chipped jars
- Assuming a vacuum seal proves safe processing
- Inverting jars instead of using the tested
canning process - Leaving bands on during long-term storage where they can hide seal failure
Trusted references
- NCHFP: Recommended Jars and Lids
- NCHFP: Cooling Jars and Testing Jar Seals
- NCHFP: Storing Home-Canned Foods
- Complete Beginner Canning Tools Checklist
- Cooperative Extension resources in all 50 states
Safety review: September 2026. Product designs and manufacturer instructions can change; verify the current directions supplied with your jar and lid system.