Safety classification
Tested
Testing authority: National Center for Home Food Preservation (University of Georgia / USDA-derived guidance)
Safety reviewed: 09/09/2026
Processing details
Altitude adjustment: Dial gauge: 11 psi at 0–2,000 ft; 12 psi at 2,001–4,000 ft; 13 psi at 4,001–6,000 ft; 14 psi at 6,001–8,000 ft. Weighted gauge: 10 psi at 0–1,000 ft; 15 psi above 1,000 ft.
Source & provenance
Safety classification: Tested recipe from NCHFP.
Fish in pint jars canning safety
| Method | Pressure |
|---|---|
| Pack | Raw dry pack; no added liquid |
| Jar sizes | Pints only |
| Headspace | 1 inch |
| Yield/limit | For listed fatty fish except tuna |
Safety boundary: Use pints only, exclude tuna, add no liquid, and process the full 100 minutes.
Processing details
- Method
- Pressure
- Pack style
- Raw
- Jar sizes
- Pint Jars
- Headspace
- 1 inch
- Processing time
- Pints: 100 min
Tested recipe source: National Center for Home Food Preservation (NCHFP)
Fish in pint jars timeline
- Prepare: Eviscerate within 2 hours of catch, keep cleaned fish on ice, and remove head, tail, fins, scales, and blood.
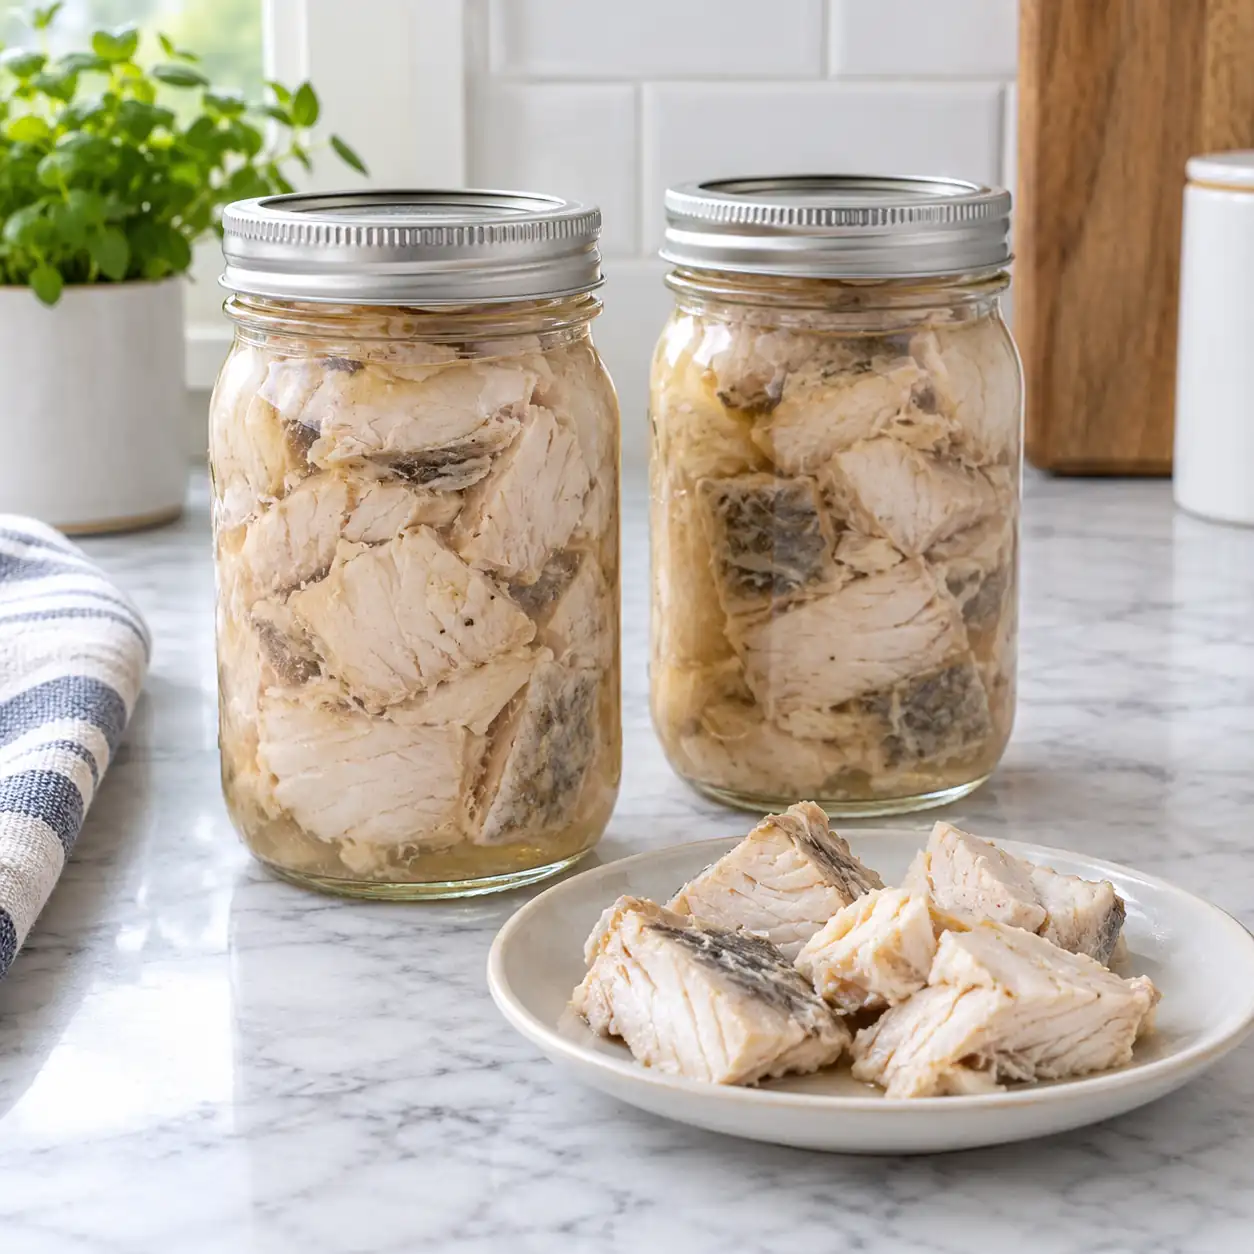
- Pack: Cut into 3½-inch lengths and pack skin-side toward the glass without liquid.
- Process: Pressure-can pints for 100 minutes.
Equipment for fish in pint jars
Affiliate disclosure: Equipment links may earn a commission at no added cost; safety guidance is independent.
- Pressure canner with rack and tested dial or weighted gauge
- Pints only Mason jars with two-piece lids
- Large pot,
canning funnel, jar lifter, headspace tool, and bubble remover
Visual method guide
- Eviscerate promptly and keep cleaned fish on ice.
- Remove head, tail, fins, scales, and blood.
- Cut 3½-inch lengths and pack skin-side out.
- Add no liquid; leave 1-inch headspace and pressure-can.
The official source and WPRM recipe card remain authoritative.
Safety essentials
Tested USDA/NCHFP pressure-canning procedure for specified fatty fish other than tuna. Use pint jars and do not add liquid.
What is fish in pint jars?
This process is for bluefish, mackerel, salmon, steelhead, trout, and other covered fatty fish except tuna.
Before you begin
- Use pints only.
- Do not add liquid.
- Salt is optional: 1 teaspoon per pint.
Altitude-adjusted pressure schedule
| Jar/product | Time | 0–2,000 ft | 2,001–4,000 ft | 4,001–6,000 ft | 6,001–8,000 ft |
|---|---|---|---|---|---|
| Pints | 100 min | 11 psi | 12 psi | 13 psi | 14 psi |
| Jar/product | Time | 0–1,000 ft | Above 1,000 ft |
|---|---|---|---|
| Pints | 100 min | 10 psi | 15 psi |
Fish — Pint Jars — NCHFP
Ingredients
- cleaned fresh fatty fish bluefish, mackerel, salmon, steelhead, trout, or other fatty fish except tuna
- 1 tsp salt optional per pint
Equipment
- 1 Pressure canner Dial- or weighted-gauge pressure canner appropriate for altitude.
- As needed Canning jars Pints only.
- As needed Two-piece canning lids Use new flat lids and prepare according to manufacturer directions.
Directions
- Eviscerate fish within 2 hours after catch and keep cleaned fish on ice until ready to can.
- Remove head, tail, fins, and scales. Wash and remove all blood. Split lengthwise if desired and cut cleaned fish into 3½-inch lengths.
- Fill pint jars skin-side toward the glass, leaving 1-inch headspace. Add 1 teaspoon salt per pint if desired. Do not add liquid.
- Pressure process pints for 100 minutes.
- Dial gauge: 11/12/13/14 psi at 0–2,000/2,001–4,000/4,001–6,000/6,001–8,000 ft. Weighted gauge: 10 psi through 1,000 ft and 15 psi above 1,000 ft.
Recipe Notes
Private Notes
Questions or results?
Discuss this recipe with the canning community. Community comments do not replace the tested source or safety classification shown on this page.
Join the discussion
Please log in or create a free account to discuss this recipe. You will return here afterward.
Tried this recipe?
Share your results how it turned out.How to serve fish in pint jars
Drain if desired and use in salads, patties, spreads, pasta, chowders, and sandwiches.
Fish in pint jars questions
Can tuna use this process?
No. Tuna has a separate tested preparation and process.
Can I use a boiling-water canner?
No. This low-acid food requires pressure
What if pressure drops?
Restore the required pressure and restart the full processing time.
Regular fish versus tuna
This dry-pack process excludes tuna; tuna uses its own precooked solid-pack directions.
Fish in pint jars troubleshooting
Why is there liquid in a jar when none was added?
Fish releases natural juices during processing; this is expected when the tested pack was followed.
What if a jar does not seal?
Refrigerate promptly or follow authoritative reprocessing guidance within the permitted time.
Source & provenance
NCHFP, “Fish (pint jars, USDA)”. Adapted from the USDA Complete Guide to Home
Editorial review: Supporting blocks checked against the official source on September 20, 2026. The WPRM recipe card was preserved.
Typical canning season
Season: All Year
Months: January, February, March, April, May, June, July, August, September, October, November, December
How much of the main ingredient should I grow?
Not applicable as a garden crop; plan purchases or harvest separately
This recipe does not have a reliable garden conversion. Plan a purchase or harvest separately, and do not use garden estimates to alter the tested recipe.
Garden yields vary by cultivar, climate, soil, pests, and care. Always measure the exact prepared ingredient amount required by the tested canning recipe.