Affiliate disclosure: This guide may contain affiliate links. We may earn a commission from qualifying purchases at no additional cost to you. Prices and availability can change.
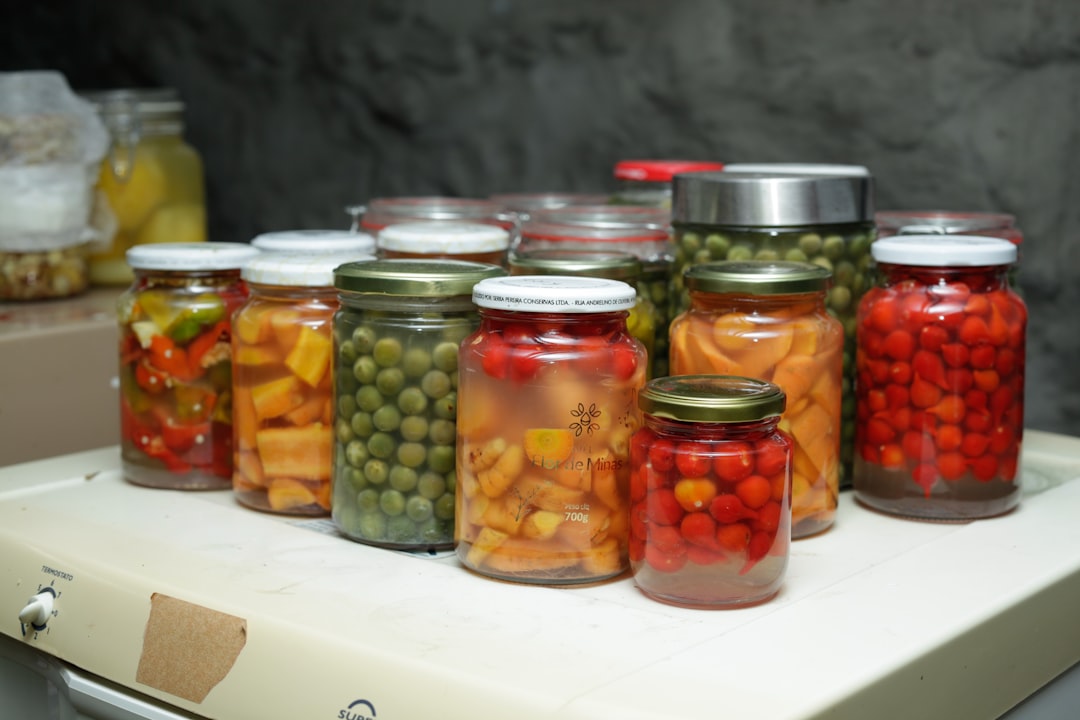
You do not need a kitchen full of specialty gadgets to begin home
Quick beginner checklist
- Current tested home-canning recipe
- Boiling-water canner or pressure canner appropriate for the food
- Purpose-made home-canning jars in the tested size
- Compatible two-piece lids and bands
- Canning rack
- Jar lifter
- Wide-mouth
canning funnel - Headspace measuring tool or clean ruler
- Bubble-removal tool made from nonmetallic material
- Clean towels, timer, potholders, and basic kitchen measuring equipment
1. The correct canner
Boiling-water canner
A boiling-water canner is used for properly acidified or naturally high-acid foods when a tested recipe specifies boiling-water processing. Typical examples include many fruits, jams, jellies, pickles, relishes, and acidified tomato products.
The pot needs a rack, a lid, and enough depth to keep the jars covered by the amount of actively boiling water required by the tested instructions. A deep stockpot may work only when it meets those requirements and is suitable for the cooktop.
Pressure canner
A pressure canner is required for shelf-stable low-acid foods such as plain vegetables, meat, poultry, seafood, and many combination foods. Follow the tested pressure, processing time, jar size, pack style, and altitude adjustment exactly. See the pressure-canning guide before using one for the first time, and use our All American 910–941 comparison to match jar capacity and stove compatibility to your kitchen.
A small pressure cooker, electric multicooker, or unverified appliance is not automatically interchangeable with a research-tested pressure canner. NCHFP guidance specifies that a canner used with USDA pressure processes must be large enough to hold at least four upright quart jars.
2. Home-canning jars
Use purpose-made home-canning jars that are free from cracks, chips, and damaged sealing surfaces. Match the exact jar size permitted by the recipe. Processing a larger jar than the tested size is unsafe because heat penetration may not be adequate.
Standard jars are reusable when undamaged. Flat lids are generally single-use for heat processing; screw bands can be reused if clean, not distorted, and not heavily rusted.
3. Lids and bands
Use a complete, compatible closure system and follow its manufacturer’s current preparation instructions. For the common two-piece lid system, center a new flat lid on the cleaned jar rim and tighten the band only to the specified fingertip-tight level. Overtightening can interfere with venting during processing.
Do not reuse a conventional flat lid for another shelf-stable
4. Canning rack
A rack keeps jars off the direct bottom of the canner, allows water or steam to circulate, and helps reduce breakage. The rack must fit the pot and keep jars upright and separated. Do not place jars directly on the canner bottom.
5. Jar lifter
A
6. Canning funnel
A wide-mouth funnel makes it easier to fill jars neatly while keeping food off the sealing surface. It does not replace wiping the rim. Plastic or stainless-steel funnels are both practical when intact and easy to clean.
7. Headspace and bubble-removal tools
Headspace is the empty distance between the food and the top of the jar. Measure the amount specified by the tested recipe. Too little or too much headspace can contribute to seal failure, liquid loss, discoloration, or reduced quality.
Use a nonmetallic spatula or purpose-made bubble remover to release trapped air when instructed. Avoid knives or other metal tools that can scratch or weaken glass.
8. Timer and altitude information
Use a reliable timer and begin counting only when the tested process tells you to. Boiling-water processing times and pressure-canning requirements vary with altitude. Determine your elevation before the first batch and use the adjustment table belonging to the recipe and canner type.
9. Pressure-canner gauge checks
If you use a dial-gauge pressure canner, have the gauge tested at the frequency recommended by its manufacturer or your local Extension service—commonly before each
10. Ordinary kitchen equipment
Most beginners already own the remaining basics: accurate measuring cups and spoons, knives, cutting boards, saucepans, clean towels, potholders, and a timer. Use nonreactive cookware when a recipe contains substantial acid, and use an accurate scale when ingredients are specified by weight.
Useful but optional tools
- Magnetic lid wand, when compatible with the lid manufacturer’s instructions
- Extra jar rack for handling or stacking where the canner manufacturer permits it
- Labeling supplies and a permanent marker
- Food mill for tested tomato sauces and purées
- Jelly bag or strainer for clear jellies
- Digital scale for recipes written by weight
- Fermentation weights and vessels for recipes that include a fermentation stage
Equipment to avoid or verify carefully
- Oven, dishwasher, microwave, or open-kettle “canning”: these are not substitutes for the tested heat process.
- Electric multicookers: use for shelf-stable pressure
canning only when the exact process and appliance have appropriate research-based validation. - Decorative or storage jars: they may not be designed for repeated thermal processing or compatible
canning closures. - Damaged jars, warped bands, or compromised lids: discard or repurpose them outside heat processing.
- Secondhand pressure canners: verify the model, capacity, venting system, gauge, gasket, replacement-part availability, and safe operating condition before use.
What should a beginner buy first?
If you plan to make jams and acidified pickles, begin with a suitable boiling-water canner, rack, tested-size jars, lids, a jar lifter, funnel, and headspace tool. If your goal is plain vegetables, meats, seafood, or other low-acid foods, start with an appropriate pressure canner and learn its operation before buying ingredients.
Browse the home-canning equipment guides for method-specific explanations and compatible options.
Trusted safety references
- National Center for Home Food Preservation: How Do I Can?
- NCHFP: Recommended Canners
- NCHFP: Recommended Jars and Lids
- Cooperative Extension resources in all 50 states
Safety review: September 2026. Always follow the current tested recipe and the current instructions supplied with your equipment.